Education
Sploof 101 – Your Guide to Making a Smoke Buddy
Looking for ways to hide the smell of your weed? All you need is sploof!
Despite the recent medicinal and recreational legalization in both the United States and Canada — only 13% of Americans reportedly smoke Marijuana. Considering the majority of the population (87%) doesn’t partake in toking means that to be a considerate stoner, you should practice keeping your smoke to yourself.
Like cigarettes, many people find the odor of marijuana smoke offensive, and most don’t want to inhale someone else’s second-hand smoke. Furthermore, there are many smokers out there who wish to keep it private for career or family-related reasons or stay somewhere that discourages the use of weed.
That being said, there are several methods you can employ to keep the odor and smoke at bay, including smoking outside. But what if you can’t smoke outside due to weather, privacy, or access?
Well, you’re in luck! A little something called a sploof can help filter and absorb not only some of the smoke but also the skunky odor of weed.
What Exactly Is A Sploof?
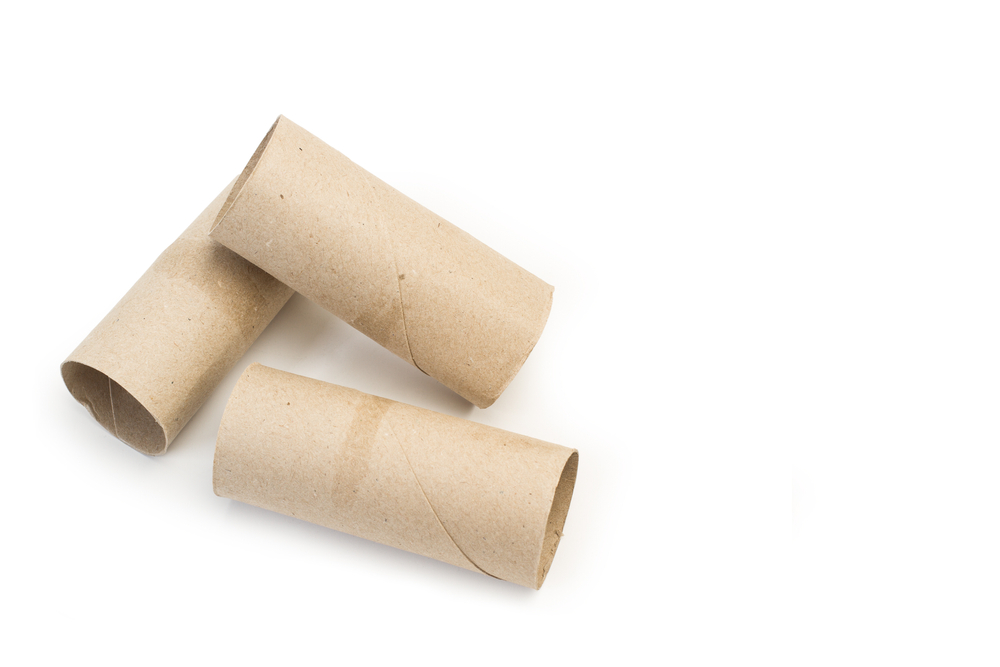
A sploof is a DIY piece of kit made out of a toilet paper, paper towel roll, or plastic bottle stuffed up with dryer sheets to help filter and deodorize the skunky smell of marijuana.
As you can see, sploofs are extremely cheap and easy to make, however, there are now companies that make sploofs including Sploffy, Angel, Smokebuddy, and Eco Four Twenty that incorporate the use of activated carbon to mitigate odors.
But why pay for a sploof when you could easily make it at home with a few household materials? Keep in mind, you can also add activated carbon into a DIY Sloof; layering it between the dryer sheets for additional filtration.
We will go over the step-by-step process in a minute, but first, we think it’s essential that you understand what factors determine the intensity of how strong your weed smells.
What Affects The Strength of Weed Smell?

Any toker knows that the more pungent the smell of your weed, the better the quality.
However, when you’re trying to be covert with your weed, the wonderful aroma we love about our top-shelf strains can pose a problem thanks to its high terpene content.
Terpenes are the compounds responsible for providing the flavor and aroma of cannabis and other plants including black pepper, menthol, mango, and lemongrass to name a few.
There are over 200 different types of terpenes in existence. Each cannabis strain is composed of a unique grouping of terpenes — which is why different growers deliver such a vast range of flavor and aromatic profiles herbal, tropical, spicy, diesel, pine, coffee, or citrus.
Another factor that impacts the smell of your weed is the environment you’re in. Are you inside or outside? How is the airflow? Are there windows open, is the AC running and is the heat on?
All these airflow and temperature factors can impact how strong the smell of your smoke will be, and the likelihood of someone else smelling it. We recommend smoking outside if possible, but if that isn’t possible, we recommend smoking near an open window or the intake vent of your heater or air conditioning unit.
The consumption method you opt for is another component that can help or hinder your smoke sessions. Glass and ceramic bongs, pipes, and one-hitter will stink a lot less than using a blunt or joint that is continuously burning.
The best option is a vape, because it burns at a lower temperature and doesn’t produce an offensive odor or smoke like other methods used.
We also recommend storing your weed in a dark container, preferably glass, kept in a cool, dark environment. This literally puts a lid on the smell, as well as keeps your bud fresh for longer as it prevents it from being broken down by oxygen exposure and light.
In fact, if you’re proactive about properly storing your weed, the cannabinoid and terpene content of your flower can last for up to two years.
How To Make a Sploof
We love how easy and affordable it is to make your own DIY sploof using things you likely already have on hand. You’ll more than likely have an empty toilet paper roll hanging out in your bathroom, or a paper towel roll in your kitchen trash.
Using a paper towel roll will allow you to create more layers of filtration than a toilet paper roll can just because of size. Some people opt for using plastic water bottles instead, and honestly, they work just as good.
Regardless of what you choose to use, let’s first go over what you’ll need to make a functional sploof:
- Toilet paper/paper towel roll, or plastic bottle (any size will do)
- Scissors or knife
- Rubber band, elastic hairband, tape, or string. (we recommend a rubber/hair band)
- Dryer sheets
- Activated carbon & spoon (this is optional for those wanting extra filtration)
*Activated carbon can be found at your local Walmart in the aquarium and fish department section.
Assembling Your Sploof
Once you have all your items gathered, it is now time to make your sploof!
STEP 1

This step is contingent on the equipment you choose to use. Toilet paper or paper towel rolls don’t require any modification, whereas a plastic bottle will require you to cut and discard ⅔ of the bottom of the bottle.
STEP 2
Next, you’ll want to take your dryer sheets and pack them into your bottle or cardboard roll, making sure not to pack it too densely.
If you cram too many dryer sheets into your vessel, it can block the airflow, so when you exhale, you’ll just get a backdraft of exhaled smoke.
We recommend 3-4 dryer sheets for the bottle and toilet paper roll, and 6-8 for a paper towel roll. For extra filtration, spooning and layering activated carbon in between your dryer sheets will provide extra odor control as it’s very effective at absorbing smoke and other malodors.
STEP 3
Once you have your sploof loaded up with dryer sheets (and/or activated carbon) it’s time to “seal it up”.
This is done by putting one dryer sheet over one end of the bottle or cardboard roll, then secured with a rubber band, hair tie, tape, or string. If using a bottle, be sure to secure it over the wide end that you cut off, and the smaller hole will be used as the mouthpiece.
*If you are using activated carbon, it may be easier to secure the end dryer sheet first to keep it from falling through the other end of the tube.
STEP 4
At this point, you should have a functioning sploof, and you can start enjoying a relatively smell-free session.
Some tokers also like to customize their sploofs by decorating them using pens, markers, tape, stickers, and even glitter.


